Table of Contents
Arduino is an open-source electronics platform based on easy-to-use hardware and software. It is designed to make electronics more accessible to everyone, especially those who are new to programming and electronics. With Arduino, anyone can create interactive projects, from simple LED blinkers to complex robots and home automation systems.
If you are new to Arduino, it can be overwhelming to get started. There are many different boards, sensors, and components to choose from, and the programming language can be intimidating. However, with step-by-step instructions, anyone can learn to use Arduino and create amazing projects.
This article will provide step-by-step instructions for getting started with Arduino, as well as frequently asked questions about the platform. Whether you are a complete beginner or an experienced programmer, this article will help you learn how to use Arduino and create your own projects.
What is Arduino?
Arduino is an open-source electronics platform that is based on easy-to-use hardware and software. It allows users to create interactive electronic objects by using sensors, actuators, and microcontrollers. Arduino boards are able to read inputs, such as light on a sensor, a finger on a button, or a Twitter message, and turn it into an output, such as activating a motor, turning on an LED, or publishing something online.
Overview
Arduino is a popular choice for hobbyists, artists, and professionals who want to create interactive electronic projects. The platform is easy to use, and it has a large community of users who share their projects, code, and ideas. Arduino boards are available in different sizes and shapes, and they can be programmed using the Arduino Integrated Development Environment (IDE).
The Arduino IDE is a software application that allows users to write, compile, and upload code to the Arduino board. The IDE is available for Windows, Mac OS X, and Linux, and it supports a wide range of programming languages, including C and C++. The IDE also includes a serial monitor that allows users to communicate with the board and receive data from sensors and other input devices.
History
The Arduino project was started in 2003 by a group of students at the Interaction Design Institute Ivrea (IDII) in Ivrea, Italy. The project was led by Massimo Banzi, who is now one of the co-founders of Arduino. The goal of the project was to create an easy-to-use platform for prototyping interactive electronic projects.
Since then, Arduino has become a popular platform for makers, artists, and educators around the world. The platform has been used to create a wide range of projects, including robots, musical instruments, interactive art installations, and more. Arduino has also been used in education to teach students about electronics, programming, and engineering.
Getting Started with Arduino
Arduino is an open-source electronics platform that allows users to create interactive projects. It is an easy-to-use platform that has become increasingly popular among hobbyists, students, and professionals. In this section, we will cover the basics of getting started with Arduino.
Choosing the Right Board
There are several different types of Arduino boards available, each with its own unique features and capabilities. Some of the most popular boards include the Arduino Uno, Mega, and Nano. When choosing a board, it is important to consider your project requirements and budget.
The Arduino Uno is a good option for beginners as it is easy to use and has a wide range of compatible shields and accessories. The Mega is a more powerful board with more input/output pins and memory, making it suitable for larger projects. The Nano is a small board that is ideal for projects with space constraints.
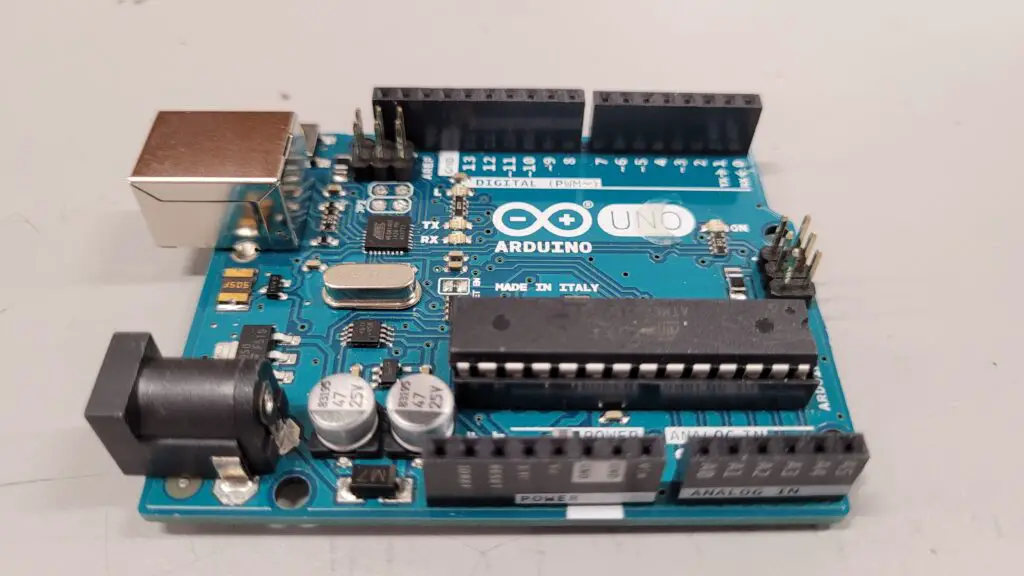
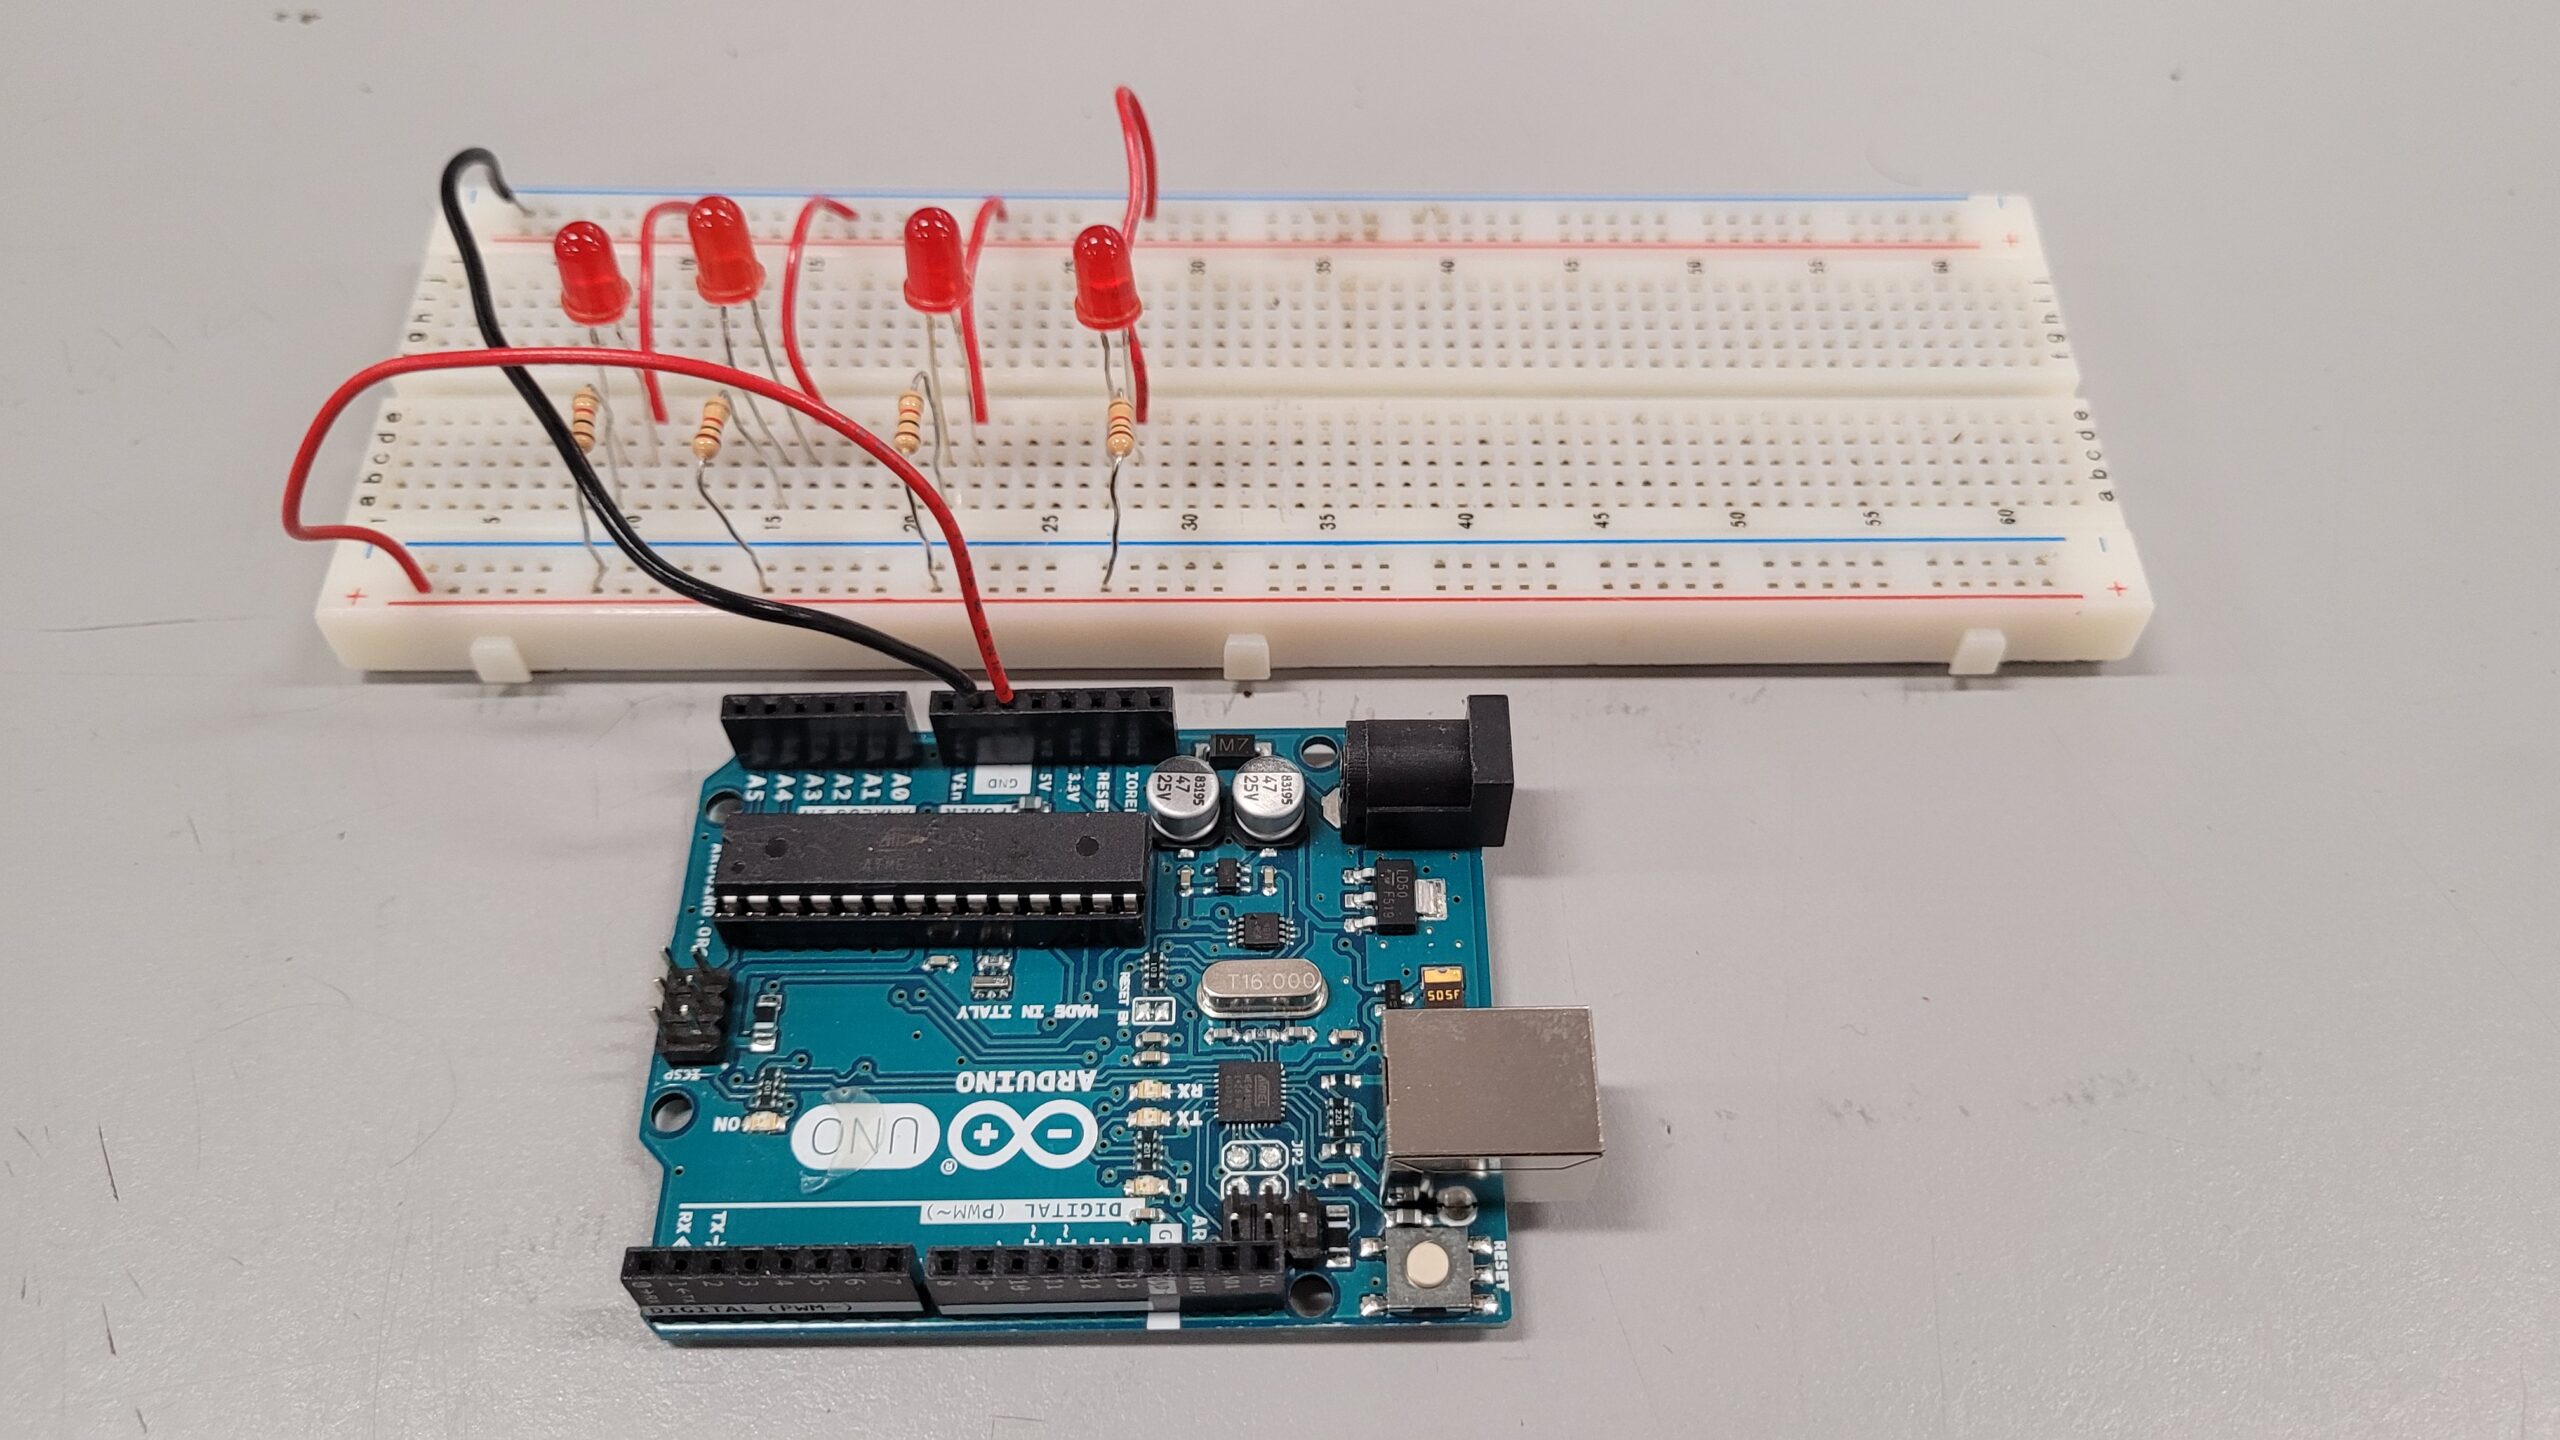
As you see, we in fact do own an Arduino Uno board and we will use it to do some testing later on.
Installing Arduino IDE
The Arduino Integrated Development Environment (IDE) is a software program that allows users to write and upload code to their Arduino board. The IDE is available for free on the Arduino website and can be downloaded for Windows, Mac, or Linux.
Once the IDE is downloaded, users can start creating and uploading code to their board. The IDE includes a range of built-in functions and libraries, making it easy for beginners to get started.
You can get started by installing the software in this link.
Components
Arduino consists of two main components: the hardware and the software. The hardware is a physical board that can be programmed to interact with the environment. The software is an Integrated Development Environment (IDE) that is used to write and upload code to the board.
The hardware consists of a microcontroller, which is the brain of the board, and a variety of input and output pins. These pins can be used to connect sensors, motors, and other electronic components. There are also a variety of shields available that can be used to add additional functionality to the board.
The software is available for Windows, Mac, and Linux and is free to download. It includes a code editor, a compiler, and a bootloader, which allows the board to be programmed via USB. The software also includes a library of pre-written code, which can be used to speed up the development process.
Connecting the Board to Your Computer
Before uploading code to your board, you will need to connect it to your computer using a USB cable. Once connected, the board will be recognized by the IDE and you can start uploading code.
It is important to select the correct board and port in the IDE before uploading code. This can be done by selecting the board type and serial port from the Tools menu.
By following these simple steps, users can get started with Arduino and start creating their own interactive projects.
Setting up your Arduino board
The first step in getting started with Arduino is to set up your board. To do this, you will need to:
- Connect your board to your computer using a USB cable
- Download and install the Arduino IDE software
- Install the necessary drivers for your board
Once you have completed these steps, you can begin programming your board.
Arduino IDE installation and configuration
The Arduino IDE is the software used to write and upload code to the Arduino board. To install and configure the Arduino IDE:
- Download the latest version of the Arduino IDE from the official Arduino website
- Install the software on your computer
- Open the Arduino IDE and select the type of board you are using from the Tools menu
- Select the port that your board is connected to from the Tools menu
- You are now ready to start programming your board
It is important to note that the Arduino IDE is compatible with Windows, Mac, and Linux operating systems.
In conclusion, setting up and configuring your Arduino board is a simple process that can be completed in just a few steps. Once you have completed these steps, you can begin creating your own interactive projects.
Conclusion and Thoughts
Arduino is an open-source electronics platform that has been gaining popularity among hobbyists, students, and professionals alike. It is a versatile platform that can be used to create a wide range of electronic devices, from simple LED blinkers to complex robots. Arduino has become a go-to platform for many people who want to learn about electronics and programming, and it has also found its way into many industries.
One of the reasons for Arduino’s popularity is its ease of use. The platform comes with a user-friendly integrated development environment (IDE) that allows users to write, compile, and upload code to the board with just a few clicks. The IDE also includes a vast library of pre-written code that users can use as a starting point for their projects. Another reason is the availability of a large community of users who share their knowledge and expertise through forums, blogs, and social media.
As with any technology, there are pros and cons to using Arduino. Some of the advantages include its ready-to-use structure, low cost, and the ability to easily interface with a wide range of sensors and actuators. Some of the disadvantages include limited processing power, limited memory, and the need for external components such as resistors and capacitors. Despite its limitations, Arduino has proven to be a powerful tool for learning and creating, and it will undoubtedly continue to be a popular platform for years to come.
If you are into more electronics we build, then I suggest you check out our previous two projects and their stories on our blog.