Table of Contents
Video Tutorial
Why Add Color to your Maya 3D House Model?
Adding texture, color, and fixing the lighting to a Maya 3D model is a crucial step in creating a realistic and visually appealing final product.
In this article, we will explore the process of adding texture, color, and fixing the lighting to a Maya 3D house model. We will discuss the tools and techniques used to create realistic textures and colors that mimic real-life materials such as wood, stone, and metal. We will also cover the importance of lighting in creating a realistic scene and how to use Maya’s lighting tools to achieve the desired effect. By the end of this article, readers will have a better understanding of how to add texture, color, and lighting to their 3D models in Maya.
Another common issue with lighting in Maya 3D house is that the shadows may appear too harsh or too soft. This problem can occur due to incorrect settings of the light source, improper use of shadow maps or ray tracing, or incorrect placement of objects in the scene. Fixing this issue requires a careful adjustment of the light source settings, as well as the use of appropriate shadow maps or ray tracing techniques.
Fixing the lighting to the Maya 3D house can be a challenging task, but it is a crucial step in creating a realistic and visually appealing scene. Lighting plays a vital role in setting the mood and atmosphere of a scene, and it can make or break the final product. Therefore, it is essential to ensure that the lighting is accurate, balanced, and appropriate for the environment and objects in the scene.
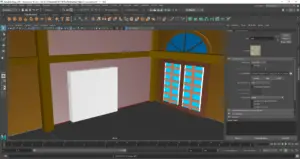
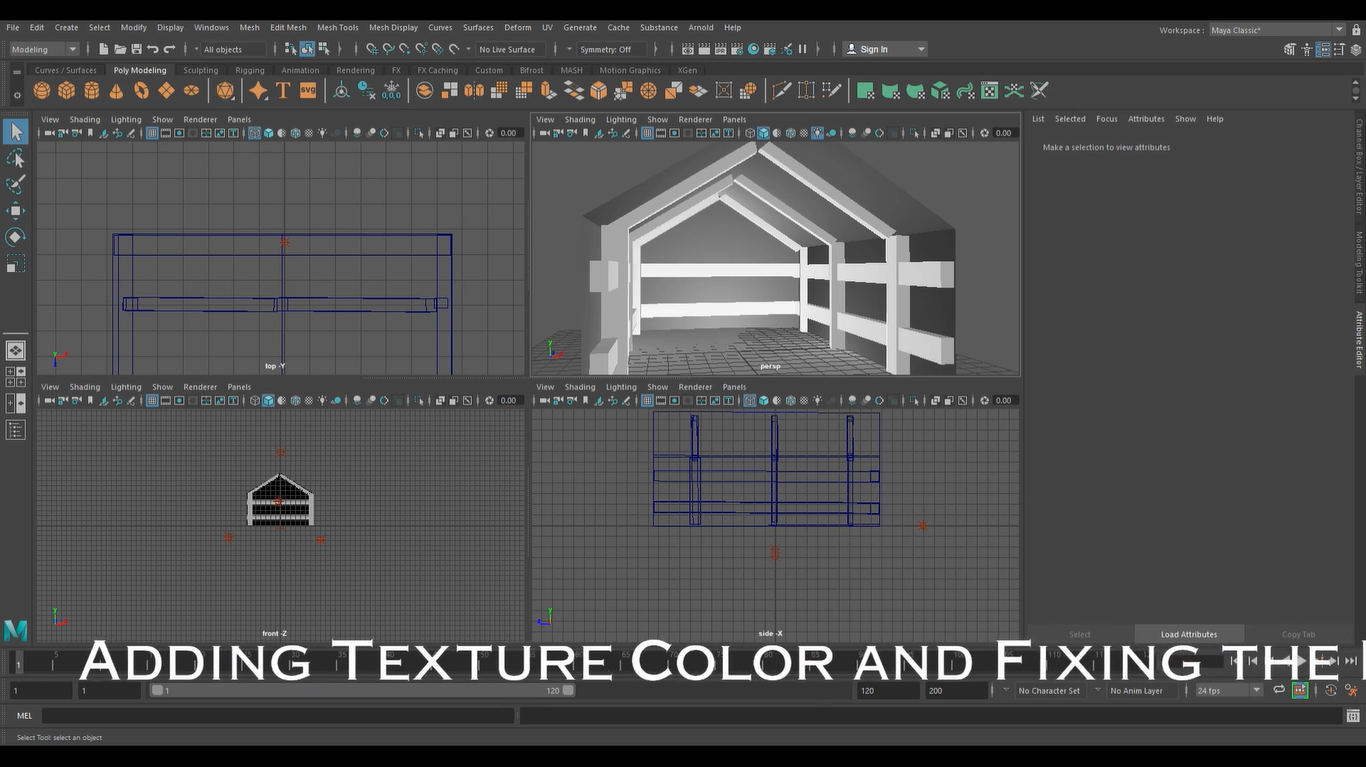
Adding Color to the Maya 3D House
Adding texture to a 3D model can make it look more realistic and visually appealing. In Maya, there are several ways to add texture to a model, but we will only focus on one way to do it. This section will cover the steps to add Color to the Maya 3D house.
Adding color to a Maya 3D house is an essential step in creating a realistic and visually appealing model. The process of adding color to a 3D house in Maya involves creating a material, assigning it to the object, and setting a color for the object. Additionally, textures can be mapped to any of the material attributes to add further depth and detail.
Creating a material in Maya is the first step in adding color to a 3D house. Materials define the surface properties of an object, such as its color, reflectivity, and transparency. Once a material is created, it can be assigned to the object by selecting the object and applying the material. After the material is assigned, the color of the object can be set by selecting the material and adjusting the color attribute. By mapping textures to the material attributes, the object can be further enhanced with realistic patterns and details.
Choosing the Right Colors and Textures.
The first step in adding texture to a model is to choose the right textures. Textures can be images or patterns that are applied to the surface of the model. Maya has a variety of built-in textures, such as wood, metal, and brick, but users can also import their own textures.
Choosing what color of your 3D House is all up to you! Though you can decide what’s unique to your 3D House Model. Grey, White, Brown are some of our unique colors we used for the house.
Meanwhile, when choosing textures, it’s important to consider the overall style and theme of the model. For example, if the model is a modern house, sleek and smooth textures may be more appropriate. On the other hand, if the model is an old, rustic house, textures with more roughness and imperfections may be better suited.
In this case, we chose the Brown and Simple Texture Color for the purpose of the tutorial. We used Common Material Attributes but a more throughout understanding of applying Textures is explained down below.
Applying Textures to the Model
Once the textures have been chosen, they can be applied to the model. In Maya, textures are applied to the model’s material. To apply a texture, follow these steps:
- Select the object that you want to texture.
- Open the Hypershade window by going to Window > Rendering Editors > Hypershade.
- Select the material that you want to apply the texture to.
- In the Attribute Editor, click on the checkerboard icon next to the color attribute.
- In the Create Render Node window, select the type of texture that you want to use.
- Adjust the settings of the texture as needed.
Adjusting Texture Settings
After the textures have been applied to the model, the settings can be adjusted to fine-tune the appearance of the texture. Maya provides several options to adjust the texture settings, such as:
- Scale: Adjusts the size of the texture on the model.
- Offset: Moves the texture around on the model.
- Rotation: Rotates the texture on the model.
- UV Mapping: Adjusts the way the texture is mapped onto the model.
By experimenting with these settings, users can achieve the desired look for their model.
Adding texture to a 3D model can be a time-consuming process, but it can greatly enhance the overall appearance of the model. By choosing the right textures, applying them to the model, and adjusting the settings, users can create a realistic and visually appealing 3D house in Maya.
Assessing the Lighting Issues
When working on a 3D house project in Maya, lighting issues can be a common problem. Proper lighting can make or break a scene, and it’s important to assess any issues before moving forward with the project. This section will explore how to identify and analyze lighting problems in Maya.
Identifying the Lighting Problems
The first step in fixing lighting issues is to identify what the problems are. This can be done by observing the scene and noting any areas that appear too dark or too bright. It’s also important to consider the overall mood and atmosphere of the scene and whether the lighting is achieving the desired effect.
Another way to identify lighting problems is to render the scene and review the results. This can help to pinpoint specific areas that need adjustment. It’s also important to consider the type of lighting being used and whether it’s appropriate for the scene.
Analyzing the Causes of the Issues
Once the lighting problems have been identified, the next step is to analyze the causes of the issues. This can involve examining the placement and settings of the lights in the scene. It’s important to consider factors such as the intensity, color, and direction of the lights.
Another factor to consider is the materials being used in the scene. Some materials may reflect light differently, which can affect the overall lighting of the scene. It’s important to ensure that the materials are set up correctly and that they are interacting with the lighting in the way intended.
Understanding these causes can help in fixing the issues in Maya 3D. For example, if the issue is overly dark areas, it may be necessary to add more lights or adjust their placement. If the issue is unnatural coloration, it may be necessary to adjust the material settings on the objects.
Conclusion of Lighting and Thoughts
In some cases, the issue may be related to the rendering settings. It’s important to review the rendering settings and ensure that they are set up correctly for the scene. This can include adjusting settings such as the resolution, quality, and anti-aliasing.
In conclusion, assessing lighting issues in Maya 3D requires careful observation and analysis. By identifying and analyzing the causes of the issues, it’s possible to make the necessary adjustments and achieve the desired lighting for the scene.
If you are into more projects such as Maya 3D that we made for the blog, then I suggest you check out our main blog categories and some extra stories on our blog.
Check out Maya today and special thanks to AngeloJacksonED for supplying the video.