Table of Contents
Video Tutorial
Opening Statement
Welcome to the Maya 3D House content overview on the site! I am excited to share what we did to create our 3D House and that many of you will start easy as you explore Maya 3D as well. Let’s get into the overview as the first video tutorial opens up on how we eventually started on the entire thing all together.
Maya 3D House building is an exciting and creative way to bring your design ideas to life. Whether you’re an architect or an interior designer, Maya 3D House building offers a powerful tool for creating realistic 3D models of your designs. With Maya 3D House building, you can create complex 3D models of buildings, houses, and other architectural structures with ease.
In this tutorial, we will explain in several parts on how to build a Maya 3D House. We will cover the basics of Maya 3D House building, including how to create a 3D model, how to add textures and materials, and how to render your model. This tutorial is designed for beginners who are new to Maya 3D House building, as well as for more experienced users who want to improve their skills. Whether you’re a professional architect or a hobbyist designer, this tutorial will provide you with the tools and knowledge you need to create stunning 3D models of your designs.
Creating the Blueprint
Before starting to build a 3D house in Maya, it’s essential to create a blueprint. A blueprint is a detailed plan of a building that includes all the necessary information about the structure, such as the floor plan, elevations, and sections. Creating a blueprint is a crucial step in the building process as it helps to visualize the final product and ensures that the structure is structurally sound.
Sketching the Plan
The first step in creating a blueprint is to sketch out the floor plan. The floor plan is a top-down view of the building that shows the layout of each room, the placement of doors and windows, and the dimensions of each space. When sketching the plan, it’s important to consider the scale of the drawing and ensure that all the measurements are accurate.
Preparing the Scene
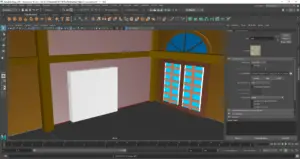
Before adding color to a 3D house in Maya, it is important to prepare the scene properly. This involves setting up the house and creating materials. By following these steps, the user can ensure that the final product is visually appealing and accurate.
Setting Up the House
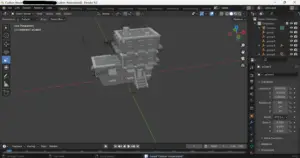
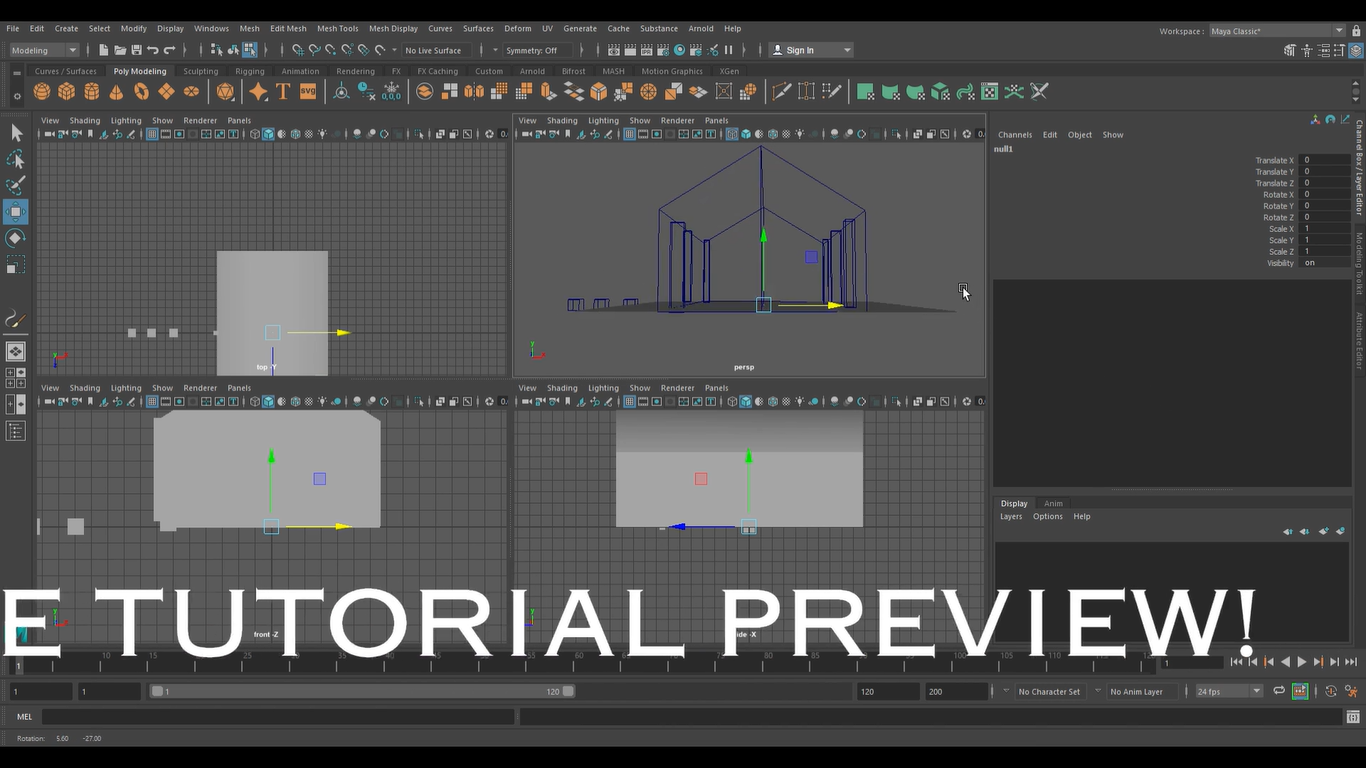
The first step in preparing the scene is to set up the house. This involves creating the basic structure of the house, including the walls, roof, windows, and doors. The user can use the modeling tools in Maya to create the basic structure of the house.
Once the basic structure is created, the user can add more details to the house. This includes adding furniture, appliances, and other objects that would typically be found in a house. The user can also add landscaping elements such as trees, bushes, and flowers to the scene.
Creating Materials
After setting up the house, the user needs to create materials for the different objects in the scene. Materials are the textures and colors that are applied to the objects in the scene. In Maya, materials are created using the Hypershade editor.
To create a material, the user needs to select the object in the scene and open the Hypershade editor. From there, the user can create a new material and adjust the settings to achieve the desired look. The user can also use pre-made materials from Maya’s library or download materials from external sources.
It is important to note that materials should be created with the final output in mind. For example, if the scene is going to be rendered in a specific lighting environment, the user should create materials that look good in that environment. Additionally, the user should consider the scale of the scene when creating materials. Materials that look good up close may not look good when viewed from a distance.
In conclusion, preparing the scene is an important step in adding color to a 3D house in Maya. By setting up the house and creating materials, the user can ensure that the final product is visually appealing and accurate.
Drawing the Elevations
Elevations are the vertical views of the building that show the exterior walls, windows, doors, and other features. There are four elevations in total: front, rear, left, and right. When drawing the elevations, it’s essential to consider the height of each floor, the roofline, and any exterior details such as chimneys or balconies.
To create the elevations, one can use the same tools used for the floor plan. It’s important to ensure that the elevations are to scale and that all the details are accurate. Once the elevations are complete, it’s time to move on to creating the sections.
Creating the Sections
Sections are vertical views of the building that show the interior details, such as the placement of stairs and the height of the ceilings. There are typically two sections: one that goes through the center of the building and another that goes through one of the exterior walls.
To create the sections, one can use the same tools used for the floor plan and elevations. It’s important to ensure that the sections are to scale and that all the details are accurate.
Conclusion: Overall Goals and Objectives
The primary goal of the project was to create a 3D house model that was realistic and visually appealing. The project aimed to teach users how to use Maya’s modeling tools effectively to create a 3D model of a house. The project also aimed to provide users with an understanding of the process involved in creating a 3D house model, from the initial planning stages to the final rendering.
In conclusion, creating a blueprint is an essential step in building a Maya 3D House. By sketching out the floor plan, drawing the elevations, and creating the sections, one can ensure that the final product is structurally sound and visually appealing.
Thanks for taking the time to read this post! More Maya 3D House Tutorials are to come out soon. If you are into more projects such as Maya 3D that we made for the blog, then I suggest you check out our main blog categories and some extra stories on our blog.
Check out Maya today and special thanks to AngeloJacksonED for supplying the video.