Table of Contents
So you made it this far on our Autodesk Maya 3D House tutorials! To be commended on your efforts while working on your 3D House, we would like to summarize some good pointers and give you interesting facts that you may want to refresh on, or know about when you further expand your house. We will continue to further expand on our guides as you continue to follow along with us as well.
Maya 3D House is a powerful tool for creating stunning 3D models of houses and other architectural structures. Once you have created your basic house model, you may be wondering what you can do next to take your design to the next level. Fortunately, there are many techniques and tools available in Maya that can help you add more detail, create more complex animations, and optimize your scene for better performance.
One of the first things you can do to enhance your Maya 3D House is to set up your scene properly. This involves organizing your objects, creating a hierarchy, and using layers to keep your scene organized and easy to work with. You can also use modeling techniques such as extrusion, beveling, and subdivision to add more detail to your objects and create more complex shapes. Additionally, animation essentials like keyframing, rigging, and motion paths can help you bring your house to life and create engaging animations.
If you are interested in rendering your Maya 3D House, there are many tips and tricks you can use to improve the quality of your final output. For example, you can use post-processing enhancements like color correction, depth of field, and motion blur to add more realism to your scene. You can also optimize your assets and scene for better performance by using LOD (level of detail) techniques, baking textures, and using efficient rendering settings. By taking advantage of these techniques and tools, you can create stunning 3D models of houses and other architectural structures that are sure to impress.
Key Takeaways
- Setting up your scene properly is key to creating a successful Maya 3D House.
- Modeling techniques like extrusion, beveling, and subdivision can help add more detail to your objects.
- Rendering tips like post-processing enhancements and performance optimization can improve the quality of your final output.
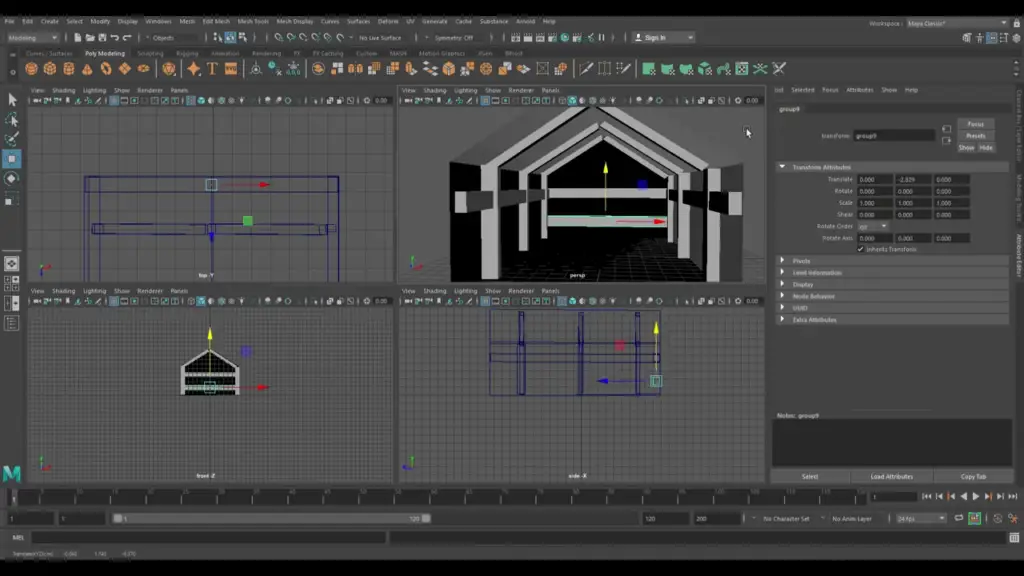
Setting Up Your Scene
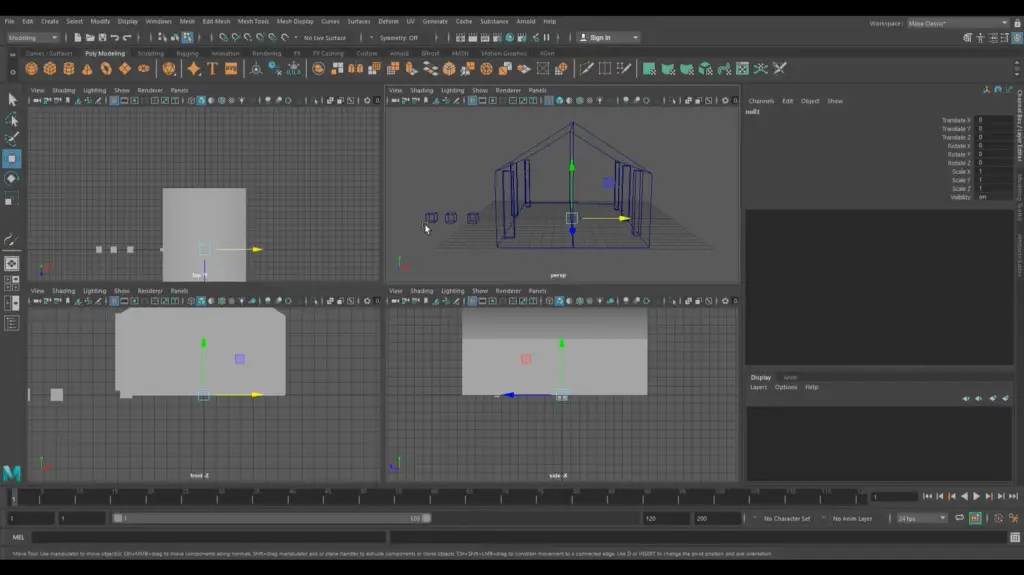
Before starting the 3D modeling process, it is important to set up the scene properly. This includes importing assets, setting up lighting, and camera placement. Here are the steps to set up your scene for a Maya 3D house:
Importing Assets
To import assets into your scene, you can use the File > Import option in the main menu. You can import various file types, including OBJ, FBX, and Alembic. It is important to organize your assets properly by grouping them into collections. This allows you to override their attributes and control their visibility easily.
Lighting Basics
Lighting is an important aspect of any 3D scene. To set up lighting in your Maya 3D house, you can use the Lighting/Shading tab in the Render Settings window. Here, you can add various types of lights, including directional, point, and spotlights. It is important to place the lights properly to achieve the desired effect.
Camera Placement
Camera placement is another important aspect of setting up your scene. To place the camera in Maya, you can use the Camera tab in the Render Settings window. Here, you can adjust the camera settings, including the field of view, aperture, and focal length. It is important to place the camera in a way that showcases the house properly.
By following these steps, you can set up your Maya 3D house scene properly. This will help you create a realistic and visually appealing 3D model.
Modeling Techniques
Refining Shapes
When it comes to refining shapes in Maya 3D, there are several techniques that can be used to achieve the desired results. One of the most commonly used techniques is the use of the “Smooth” function, which can be found under the “Mesh” section of the main toolbar. This function is used to smooth out rough edges and surfaces, giving objects a more polished look. Another useful tool is the “Bevel” function, which is used to add a beveled edge to objects, giving them a more realistic appearance.
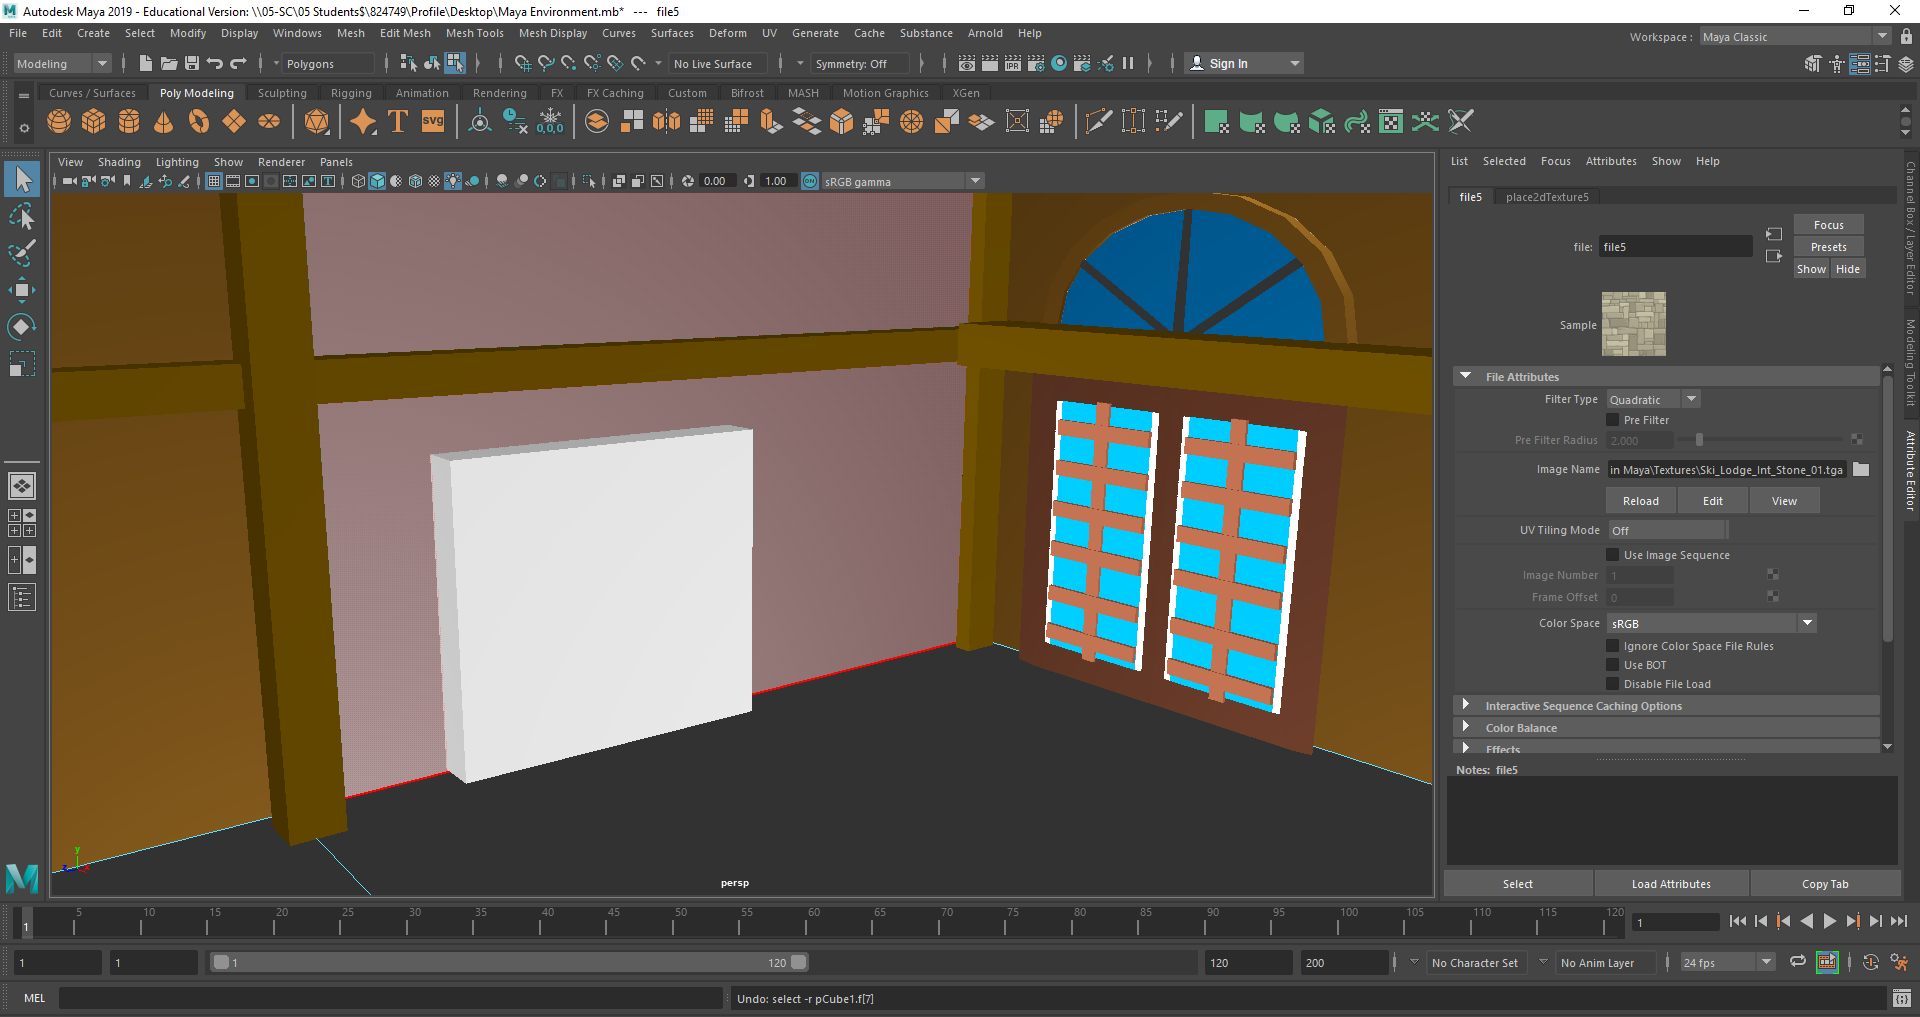
Texturing Surfaces
Texturing surfaces is an important part of creating realistic-looking objects in Maya 3D. One technique that is commonly used is the use of UV mapping, which involves mapping textures onto 3D models. This technique allows for more precise control over how textures are applied to surfaces, resulting in a more realistic and detailed appearance. Another useful technique is the use of bump mapping, which is used to add texture to surfaces without actually altering the geometry of the object.
Applying Materials
Applying materials is another important part of creating realistic-looking objects in Maya 3D. One technique that is commonly used is the use of shaders, which are used to simulate the appearance of different materials such as metal, plastic, and glass. Another useful technique is the use of lighting, which can be used to highlight certain areas of an object and create a more dramatic effect. By combining these techniques, it is possible to create highly realistic and detailed objects in Maya 3D.
Animation Essentials
Creating animations in Maya is a crucial part of bringing your 3D house to life. There are several animation techniques that you can use to animate objects in your scene. Here are two essential animation techniques that you should be familiar with:
Keyframe Animation
Keyframe animation is a technique that allows you to set specific positions, rotations, and scales for an object at specific points in time. By setting keyframes, you can create smooth and fluid animations for your objects. To create a keyframe animation, you need to select the object you want to animate and then set keyframes for its attributes.
For example, if you want to animate a door opening, you can set a keyframe for the door’s rotation attribute at the start of the animation, and then set another keyframe for the door’s rotation attribute at the end of the animation. Maya will automatically interpolate the door’s rotation between the two keyframes, creating a smooth animation.
Path Animation
Path animation is a technique that allows you to move an object along a specific path. You can use path animation to create complex animations, such as a camera moving through a scene or a character walking along a path.
To create a path animation, you need to create a curve in Maya and then attach the object you want to animate to the curve. Maya will then move the object along the curve, creating a smooth animation.
In conclusion, understanding the basics of keyframe and path animation is essential for creating high-quality animations in Maya. With these techniques, you can bring your 3D house to life and create stunning animations that will impress your audience.
Rendering Tips
Render Settings
When rendering a scene in Maya, it is important to adjust the settings to achieve the desired appearance of the final image. The Maya Render Settings window provides a variety of configurable options that allow users to fine-tune the appearance of their rendered images. Some of the most relevant settings include:
- Image Resolution: Adjusting the image resolution will determine the final image size. Higher resolutions will result in larger image files and longer render times.
- Anti-Aliasing: This option smooths out jagged edges in the final image and can be adjusted to balance quality and render time.
- Raytracing: Enabling raytracing will add more realistic reflections and shadows to the final image, but will also increase render time.
- Motion Blur: This option adds a blur effect to moving objects in the final image and can be adjusted to balance quality and render time.
Optimizing Render Time
Render time can be a significant factor in 3D animation production, and there are several ways to optimize it. Here are a few tips:
- Use Proxy Objects: Proxy objects are simplified versions of complex objects that can be used during the modeling and animation process to reduce the load on the computer. When it’s time to render the final scene, the proxy objects can be replaced with the original high-resolution objects.
- Optimize Textures: Large texture files can slow down render times, so it’s important to optimize them. This can be done by reducing the image resolution, using compressed file formats, and converting textures to .tx files.
- Use Render Layers: Render layers allow users to render different parts of the scene separately, which can reduce render time and make it easier to adjust individual elements of the scene.
- Adjust Quality Settings: Adjusting the quality settings can significantly affect render time. By finding the right balance between quality and speed, users can optimize render time while still achieving the desired appearance of the final image.
By following these tips, users can optimize their render time and achieve high-quality results in their Maya 3D house projects.
Post-Processing Enhancements
Maya 3D House is a powerful tool for creating stunning 3D models. However, sometimes the final product may require some post-processing enhancements to make it look even better. In this section, we will explore two post-processing techniques that can be used to enhance the look of your 3D models.
Compositing Layers
Compositing layers is a post-processing technique that involves combining multiple layers of an image to create a final composite image. This technique can be used to add depth and complexity to your 3D models. By combining different layers, you can create a more realistic final image.
To composite layers in Maya 3D House, follow these steps:
- Create a new layer by selecting the “Layers” tab in the toolbar and clicking on the “New Layer” button.
- Add the objects that you want to composite to the new layer.
- Adjust the opacity and blending mode of each layer to achieve the desired effect.
Adding Effects
Another post-processing technique that can be used to enhance the look of your 3D models is adding effects. Effects such as bloom, depth of field, and motion blur can add a sense of realism and depth to your models.
To add effects in Maya 3D House, follow these steps:
- Select the object that you want to add an effect to.
- Open the “Attribute Editor” and navigate to the “Effects” tab.
- Choose the effect that you want to add and adjust the settings to achieve the desired effect.
In conclusion, post-processing enhancements can take your 3D models to the next level. By using techniques such as compositing layers and adding effects, you can create stunning and realistic models that will impress your audience.
Importing House Components
Before adding furniture objects to the scene, it is important to ensure that the house components have been imported correctly. This includes importing the walls, floors, and any other components that make up the house.
To import the house components, simply go to the “File” menu and select “Import”. From here, you can select the file containing the house components and import them into the scene.
It is important to ensure that the house components are correctly positioned and scaled in the scene. This can be done by using the move, rotate, and scale tools in Maya.
Once the house components have been imported and positioned correctly, you can begin adding furniture objects to the scene. This can be done by using the various modeling tools in Maya, such as the polygon tool and the extrude tool.
By following these steps, you can prepare your 3D house model for the addition of furniture objects.
Adding Furniture to Your Scene
When it comes to adding furniture objects to your Maya 3D house, there are a few things you need to keep in mind. In this section, we will discuss how to choose furniture objects, how to position and scale them, and how to apply textures.
Choosing Furniture Objects
The first step in adding furniture to your scene is to choose the right objects. You can either create your own furniture objects or use pre-made ones. If you choose to use pre-made objects, you can find a variety of them online or in Maya’s built-in library.
When choosing furniture objects, it is important to consider the style and theme of your scene. You want the objects to fit in with the overall design and not look out of place. You should also consider the size and shape of the objects to ensure they fit in the space you have created.
Positioning and Scaling
Once you have chosen your furniture objects, the next step is to position and scale them. You can use the Move and Scale tools to adjust the position and size of the objects. You can also use the Snap to Grid feature to ensure that the objects are aligned properly.
When positioning the objects, it is important to consider the placement of other objects in the scene. You don’t want the furniture objects to overlap or look cluttered. You should also consider the lighting in the scene to ensure that the objects are properly illuminated.
Applying Textures
The final step in adding furniture to your scene is to apply textures. Textures can add depth and realism to your objects and make them look more natural in the scene. You can use Maya’s built-in textures or create your own.
When applying textures, it is important to consider the material of the object. For example, wood textures should be applied to wooden objects, while fabric textures should be applied to fabric objects. You should also consider the lighting in the scene to ensure that the textures are properly illuminated.
In conclusion, adding furniture objects to your Maya 3D house is a simple process that requires careful consideration of the objects, their positioning and scaling, and the textures applied to them. By following these steps, you can create a realistic and visually appealing scene that will impress your audience.
Asset Management
Asset management is a crucial aspect of any 3D modeling project, and Maya offers several tools to help artists keep track of their assets. Properly organizing hierarchies and using consistent naming conventions can save time and reduce errors in the long run.
Organizing Hierarchies
When creating a 3D scene, it is essential to organize the hierarchy of objects properly. This means grouping objects together based on their function or location in the scene. Maya offers several tools to help with this process, including the Outliner and the Grouping function.
The Outliner is a hierarchical view of all the objects in the scene. It displays objects in a tree-like structure, making it easy to see the relationships between objects. By grouping objects together, artists can keep their scenes organized and make it easier to find specific objects.
Naming Conventions
Consistent naming conventions are essential for keeping track of assets in a 3D scene. Maya allows artists to rename objects and assign custom names to materials, textures, and other assets. It is important to use clear, descriptive names that make it easy to identify the purpose of each asset.
One common naming convention is to use a prefix to indicate the type of asset. For example, the prefix “geo_” could be used for all geometry objects, while the prefix “mat_” could be used for all materials. This makes it easy to identify the type of asset at a glance and helps to avoid naming conflicts.
In summary, proper asset management is essential for any 3D modeling project, and Maya offers several tools to help with this process. By organizing hierarchies and using consistent naming conventions, artists can save time and reduce errors in their workflow.
Performance Optimization
When working with a 3D house in Maya, optimizing performance can help you work more efficiently and avoid lag or crashes. Here are some tips for optimizing performance:
Level of Detail
One way to optimize performance is to adjust the level of detail (LOD) for your objects. LOD refers to the amount of detail in an object, and reducing the LOD can improve performance. To adjust the LOD, select the object and go to the Attribute Editor. Under the LOD section, you can adjust the settings for the object’s display and render LOD.
Another way to adjust LOD is to use Maya’s Level of Detail node. This node allows you to create different versions of an object with varying levels of detail, and switch between them based on the distance from the camera. This can help reduce the amount of detail in objects that are far away, improving performance without sacrificing quality.
Scene Cleanup
Cleaning up your scene can also help improve performance. This involves removing any unnecessary objects, textures, or lights from your scene. You can use Maya’s Outliner to easily identify and remove any objects that are not needed.
Another way to clean up your scene is to optimize your textures. Large textures can slow down performance, so it’s important to use textures that are appropriately sized for the object they are applied to. You can also reduce the resolution of textures for objects that are far away or not in focus.
By optimizing the level of detail and cleaning up your scene, you can improve performance when working with your 3D house in Maya.
Collaboration Techniques
Version Control
When working on a 3D project, it is important to have version control in place. This allows the user to keep track of changes made to the project and revert to previous versions if necessary. Maya has built-in version control tools that allow the user to save different versions of the project and easily switch between them.
The user can also use external version control software such as Git to manage the project files. This allows for collaboration with other team members and ensures that everyone is working on the same version of the project.
Sharing Projects
Maya has several options for sharing projects with others. The user can export the project as a Maya ASCII file, which can be opened in any version of Maya. This is useful for sharing the project with others who may not have the same version of Maya installed.
The user can also export the project as a FBX file, which can be opened in other 3D software such as Unity or Unreal Engine. This is useful for sharing the project with other team members who may be working on different parts of the project in different software.

In addition, Maya has a feature called “Publish” which allows the user to package the project files and assets into a single file for easy sharing. This ensures that all the necessary files are included and makes it easy for others to open the project and start working on it.
Overall, Maya provides several collaboration techniques that allow the user to work with others on a 3D project. By using version control and sharing options, the user can ensure that everyone is working on the same version of the project and that it is easy to share and collaborate.
Extending Functionality
Maya 3D House provides a vast range of tools and functionalities to create and manipulate 3D objects. However, there may be times when you need to extend its capabilities beyond what is provided by default. This is where plugins and scripting come into play.
Using Plugins
Plugins are third-party software modules that can be added to Maya to enhance its functionality. There are numerous plugins available for Maya, both free and paid, that can help you achieve your desired results more efficiently and effectively.
For example, the “Bonus Tools” plugin provides a comprehensive set of tools that can help you perform various tasks such as modeling, animation, and rigging. Similarly, the “Arnold Renderer” plugin provides advanced rendering capabilities that can help you create high-quality images and animations.
Before installing any plugin, it is important to ensure that it is compatible with your version of Maya and has been tested and verified by reputable sources.
Scripting with MEL and Python
Scripting is another powerful tool that can be used to extend Maya’s functionality. Maya provides two scripting languages, MEL (Maya Embedded Language) and Python, that can be used to automate repetitive tasks, create custom tools, and even develop entire plugins.
MEL is a simple and easy-to-learn language that is specifically designed for use with Maya. It provides a wide range of commands and functions that can be used to manipulate objects, create animations, and perform other tasks.
Python, on the other hand, is a more powerful and versatile language that can be used not only with Maya but with other software as well. It provides access to a vast range of libraries and modules that can be used to perform complex tasks such as data manipulation, machine learning, and more.
Whether you choose to use MEL or Python, scripting can help you save time and increase productivity by automating repetitive tasks and creating custom tools that are tailored to your specific needs.
In conclusion, extending Maya’s functionality through the use of plugins and scripting can help you achieve your desired results more efficiently and effectively. By carefully selecting and using the right tools, you can take your 3D modeling and animation skills to the next level.
Preparing for Presentation
Walkthrough Preparations
Before presenting your Maya 3D house, it’s important to prepare a walkthrough of your project. A walkthrough is a simulation of the movement through your 3D house. This allows you to showcase your model in a more engaging and interactive way. To prepare for your walkthrough, you should consider the following:
- Camera placement: Place your camera at strategic points to give the viewer a good view of the house. This can be done by creating a camera and animating it to move through the house.
- Lighting: Adjust the lighting in your scene to create the desired ambiance. You can use different types of lights, such as point lights, spotlights, and area lights, to create different moods.
- Materials: Apply materials to your objects to give them the desired look. You can use textures, bump maps, and displacement maps to create realistic surfaces.
Exporting for Showcase
Once you have prepared your walkthrough, you can export your Maya 3D house for showcase. Maya provides several options for exporting your model, including FBX, OBJ, and Alembic. These formats are widely used in the industry and can be imported into other 3D software. Also make sure to label your exported files as well to mark them up and organize them easily.
Before exporting, it’s important to check that your model is optimized for performance. This can be done by reducing the polygon count, removing unnecessary objects, and merging objects that share the same materials. You should also make sure that your textures and materials are properly linked to your objects.
Once your model is optimized, you can export it using the desired format. You can then import it into a game engine or a 3D viewer to showcase your model.
Next Steps in Learning
After mastering the basics of Maya 3D house modeling and animation, there are several next steps that one can take to further improve their skills.
Advanced Modeling
For those who have a solid understanding of basic modeling, advanced modeling techniques can take their skills to the next level. Some of the advanced modeling techniques include:
- NURBS Modeling: NURBS modeling is a technique that uses curves and surfaces to create complex shapes. This technique is often used in the automotive and aerospace industries to create smooth and precise surfaces.
- Subdivision Modeling: Subdivision modeling is a technique that involves creating a low-resolution mesh and then subdividing it to create a more detailed model. This technique is often used in character modeling to create smooth and realistic surfaces.
- Procedural Modeling: Procedural modeling is a technique that involves creating models using algorithms and mathematical equations. This technique is often used in creating complex environments and landscapes.
Complex Animations
For those who have a solid understanding of basic animation, complex animations can take their skills to the next level. Some of the complex animation techniques include:
- Character Rigging: Character rigging is a technique that involves creating a digital skeleton for a character and then animating it. This technique is often used in character animation for film and video games.
- Particle Effects: Particle effects are animations that involve creating and animating particles such as smoke, fire, and water. This technique is often used in creating special effects for film and video games.
- Motion Graphics: Motion graphics are animations that involve creating and animating text, graphics, and other visual elements. This technique is often used in creating promotional videos and advertisements.
Overall, by mastering advanced modeling and complex animations, one can take their Maya 3D house modeling and animation skills to the next level and create even more impressive and realistic models and animations.
Frequently Asked Questions
How can I reveal hidden objects within my Maya 3D house project?
To reveal hidden objects in Maya, go to the “Show” menu in the “Viewport” panel and select “Hidden Objects”. This will reveal all objects that were previously hidden.
What are the steps to efficiently navigate in Maya without using a mouse?
To navigate in Maya without a mouse, use the following keyboard shortcuts:
- Use the “W”, “E”, and “R” keys to switch between the Move, Rotate, and Scale tools, respectively.
- Use the “Alt” key to access the Zoom tool.
- Use the “Space” bar to access the Pan tool.
In what ways can I display all currently hidden objects in the Maya workspace?
To display all currently hidden objects in the Maya workspace, go to the “Show” menu in the “Viewport” panel and select “All”. This will display all objects, including those that were previously hidden.
What troubleshooting steps can I take if the move tool is not visible in Maya?
If the move tool is not visible in Maya, try the following troubleshooting steps:
- Go to the “Tool Settings” panel and make sure the “Move Tool” is selected.
- Go to the “Windows” menu and select “Settings/Preferences > Preferences”. In the “Preferences” window, select the “Tool Settings” category and make sure the “Move Tool” is enabled.
- Reset Maya to its default settings by deleting the “prefs” folder in your Maya directory.
What function is assigned to the ‘4’ key and how does it affect object visibility in Maya?
In Maya, the ‘4’ key toggles the wireframe display mode. This can be useful for quickly hiding and showing objects in the workspace.
What methods are available for hiding and showing objects during the modeling process in Maya?
To hide or show objects during the modeling process in Maya, use the following methods:
- Use the “Show” menu in the “Viewport” panel to hide or show objects.
- Use the “Display” menu in the “Attribute Editor” to hide or show objects.
- Use the “Layer Editor” to hide or show objects on specific layers.
If you are into more projects such as Maya 3D that we made for the blog, then I suggest you check out our main blog categories and some extra stories on our blog.
Check out Maya today and special thanks to AngeloJacksonED for supplying all of his wonderful contributions on making our Maya 3D House videos.